Looking for caulking tips to solve a pesky leak or other problem around your Cincinnati home?
While caulking can sound like a very straightforward task, many homeowners find it to be more difficult than expected. What type of caulk is best for the project? What is the proper caulking technique?
Using a recent concrete caulking project from craftsman Will Compres, ProMaster will walk you through some important factors to consider and you start on your next caulking project.
If you would like to hire a professional Home Repair Hero to help with your Cincinnati caulking project or any other home repair task, call 513-322-2914 or click here.
Caulking Tip #1: Find the Right Caulk for the Job
This is perhaps the most important caulking tip. Walking into Home Depot, Lowe’s, or another hardware store and seeing dozens of caulking brands and options can feel overwhelming.
However, sometimes making the selection can be as simple as knowing what to look for and reading caulking labels.
Let’s break down caulking options by job type.
Concrete Sealing and Caulking
Will shows off the right type of caulk to use for concrete seals and repairs. If you look closely, you’ll notice Will using DAP brand concrete sealant and filler with silicone added.

The presence of silicone will be an important theme throughout your caulking selection process. Silicone improves caulks adhesion to rougher surfaces and also increases its resistance to water, a perfect fit for concrete caulking projects.
Kitchen and Bathroom Caulking
Perhaps the most common places you’ll need caulking in your home. Quality, waterproof caulking in the kitchen and bathroom will help prevent leaks and water damage.
Not only will you want to find a siliconized caulk for the best chances at waterproofing, you’ll also want to find a mold-resistant caulk. This will be critical for maintaining the caulk long-term, particularly around showers or tubs where water is constantly present.
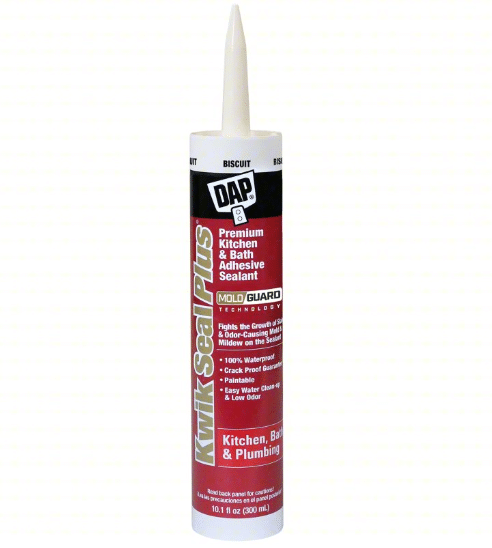
You can use DAP’s Premium Kitchen and Bath caulk, which checks all these boxes and also can be painted, a nice feature if you’re looking to match the caulk to nearby drywall or tile.
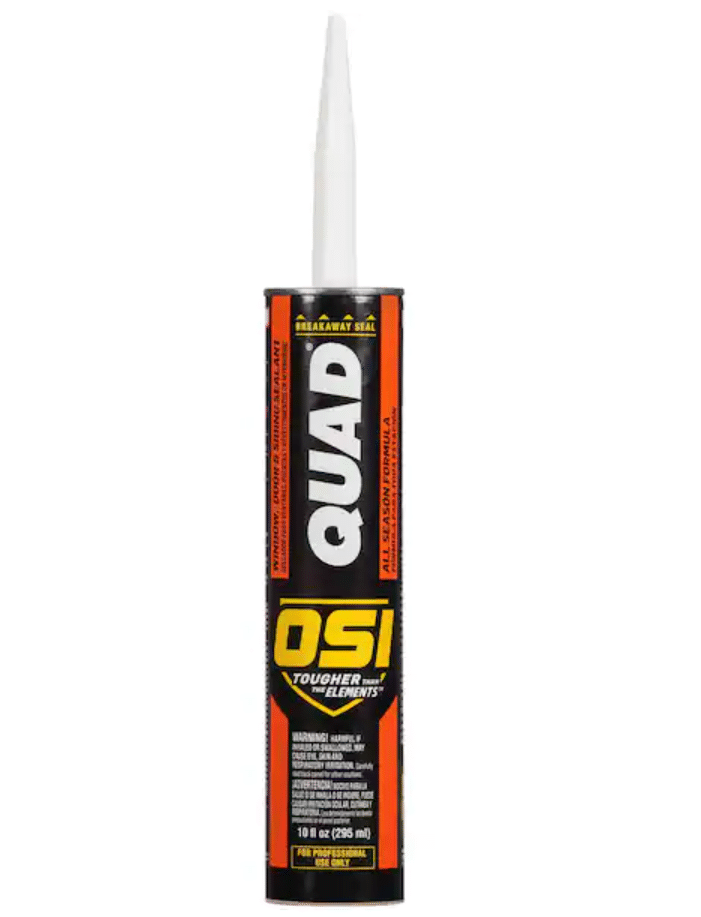
Door and Window Caulking
Your requirements for door and window caulking, as expected, are similar to other outdoor projects: waterproof and weather resistant.
However, in this case, flexibility is also highly important as wooden door frames and window frames move and expand with changes in moisture levels and temperatures.
Many of our craftsmen prefer QUAD’s exterior sealant, which comes in a variety of colors and offers a particularly strong seal to prevent leaks.
It’s worth noting now (and later) that even with all these caulking tips, caulk may not solve your leak. Many customers call in asking for caulking services to repair a leak. However, the leak could be due to an issue with wood rot, flashing, or other problem areas around a window.
Hiring a professional craftsman to diagnose your leak could be the best course of action.
Caulking Tip #2: Thoroughly Remove Old Caulk
Sometimes, more is not always better. That’s the case when working with caulk.
Before attempting any re-caulking, use a multi-tool, putty knife, or other tool to carefully and thoroughly remove old caulk.
This can be a time-consuming process and, if the old caulk was well-sealed, a bit stubborn. However, with patience and proper tools, the caulk can be removed effectively to create a clean joint surface for the new application.
Notice that some of the caulk Will removes comes off cleanly – other areas, he really works at the remaining caulk to clean the area. Why is it so important to keep the area clean?
Caulking Tip #3: Clean Area of Dirt and Debris
Caulk needs a clean surface to create the best possible seal and prevent water intrusion. When removing old caulk, it will often flake and leave behind lots of dust and other debris. Use a brush and even a liquid cleaner to wipe the area clean.
Caulking Tip #4: Apply and Smooth Caulk Evenly
Once you’ve taken the proper steps to prepare for caulking, it’s time for a different kind of caulking tip – the actual tip of the caulking tube!
Cut the tube to the size you need – closer to the end for a more narrow application, closer to the tube for a wider application. You can cut the tube at an angle to make application easier and even bend the tip of the tube to the angle you need.
Using a caulk gun, pull the caulk gun toward you in a steady, even motion, ensuring that all areas are covered evenly. Will demonstrates this technique perfectly before using his finger to smoothly the caulk and create the seal. You’ll want to ensure the area stays as dry as possible for the caulk to set.
You can use other caulking tools as well to smooth the caulk to create the seal.
If you have any questions about these Cincinnati bathroom remodeling items, contact ProMaster today! Call (513) 322-2914 or email us at [email protected].
Our multi-disciplined, highly skilled craftsmen can handle all these tasks and more in your home. In one visit, you’ll receive an estimate for each of your projects and the opportunity to meet in person with the craftsman who will be leading your job.


Speak Your Mind